Canada in Clay
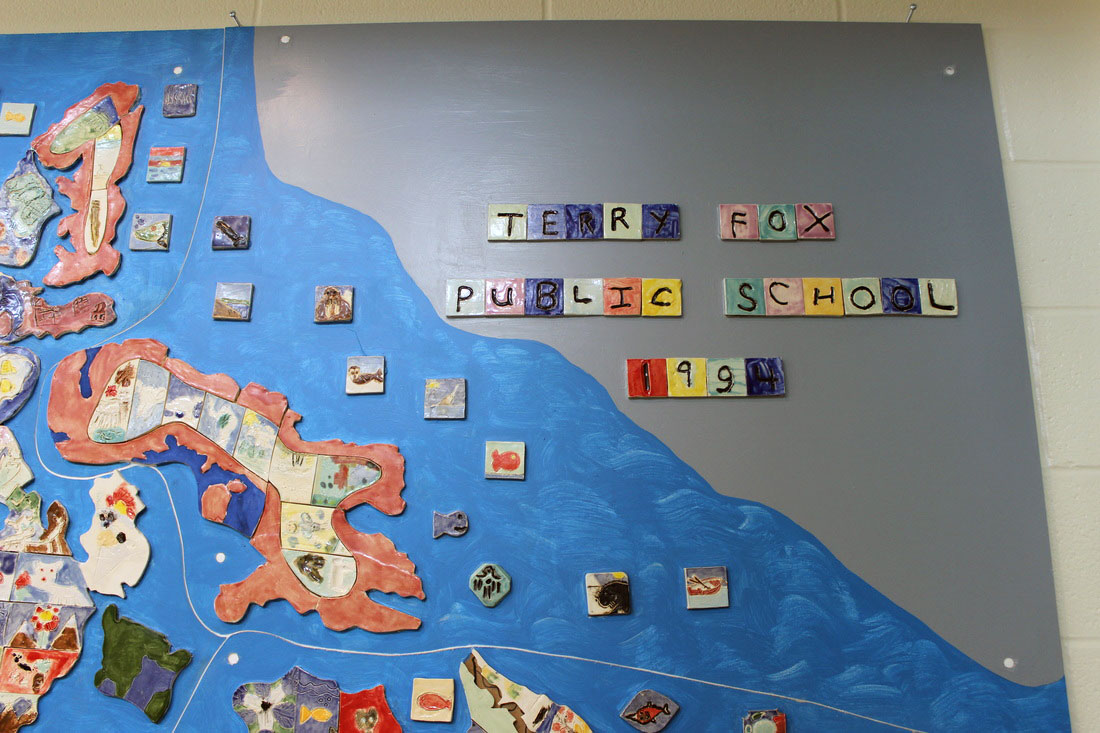
Terry Fox School commemorative display
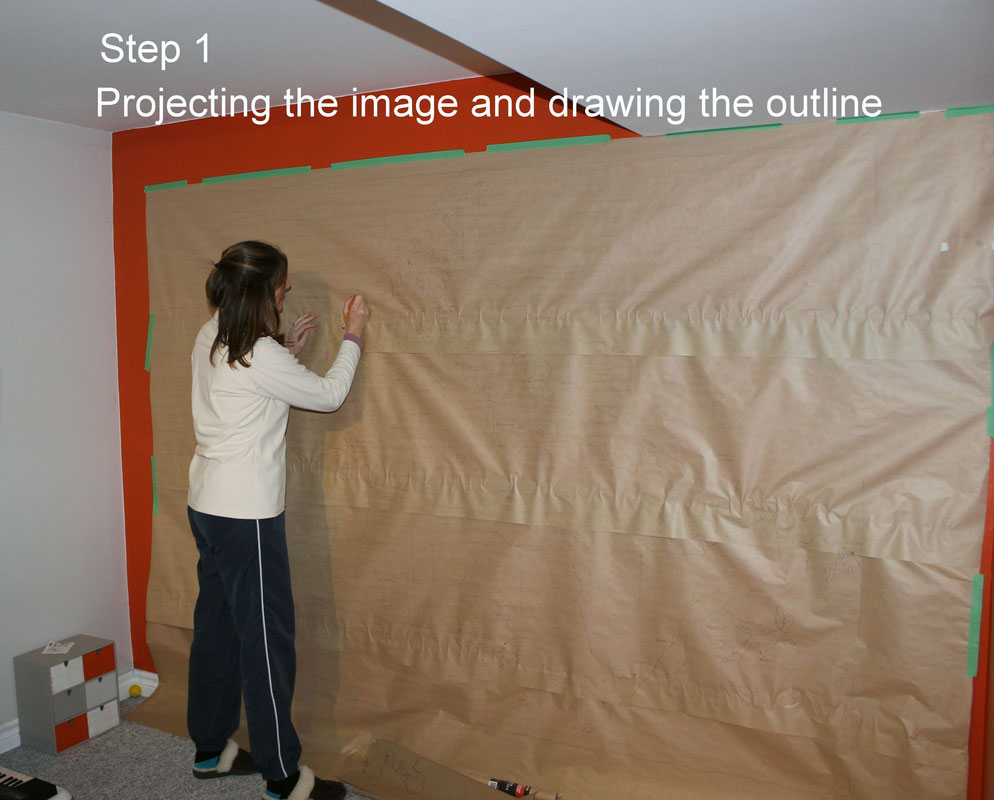
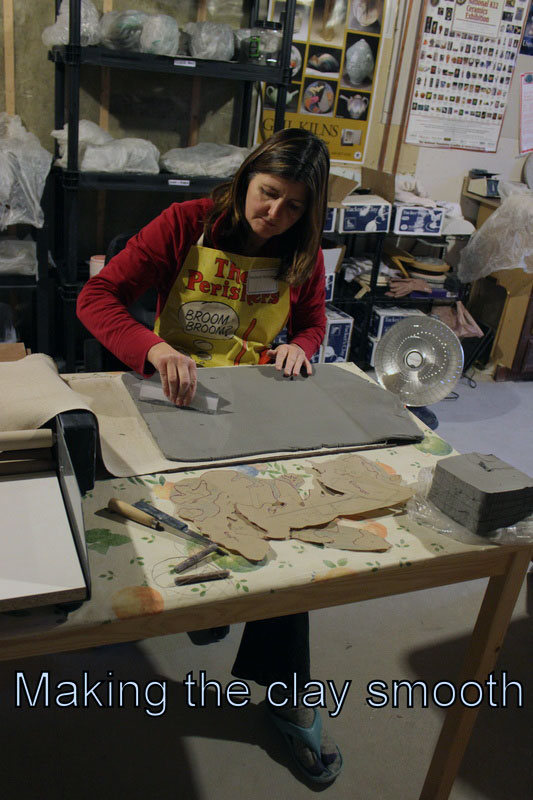
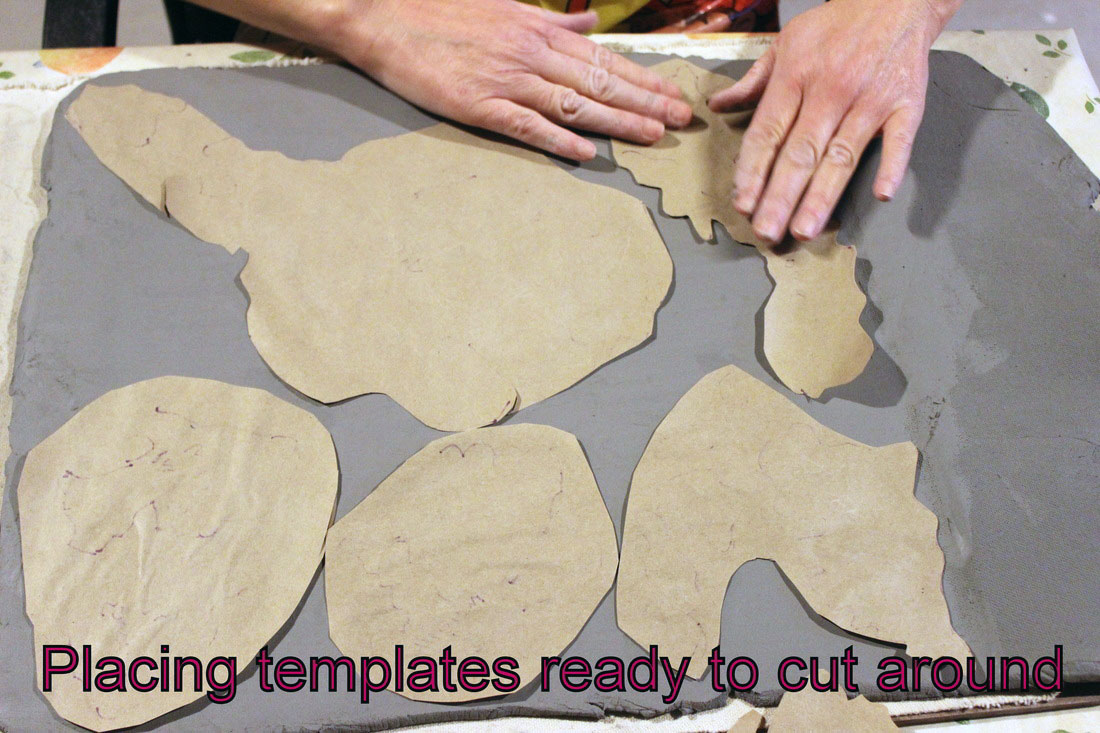
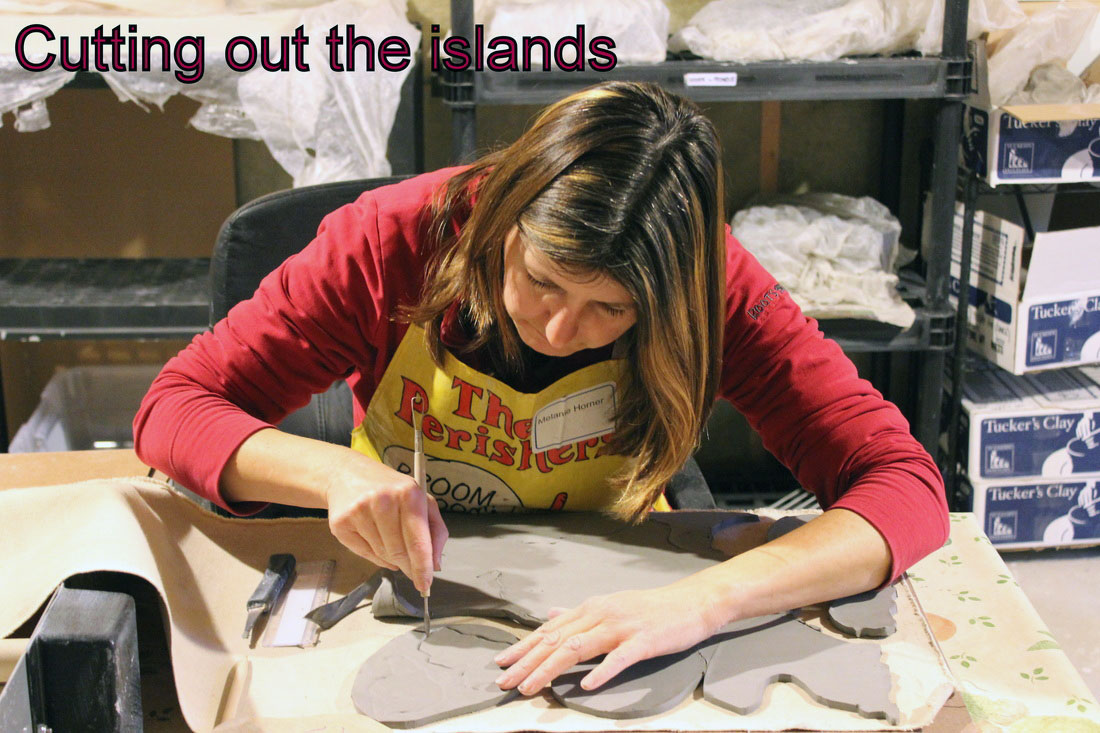
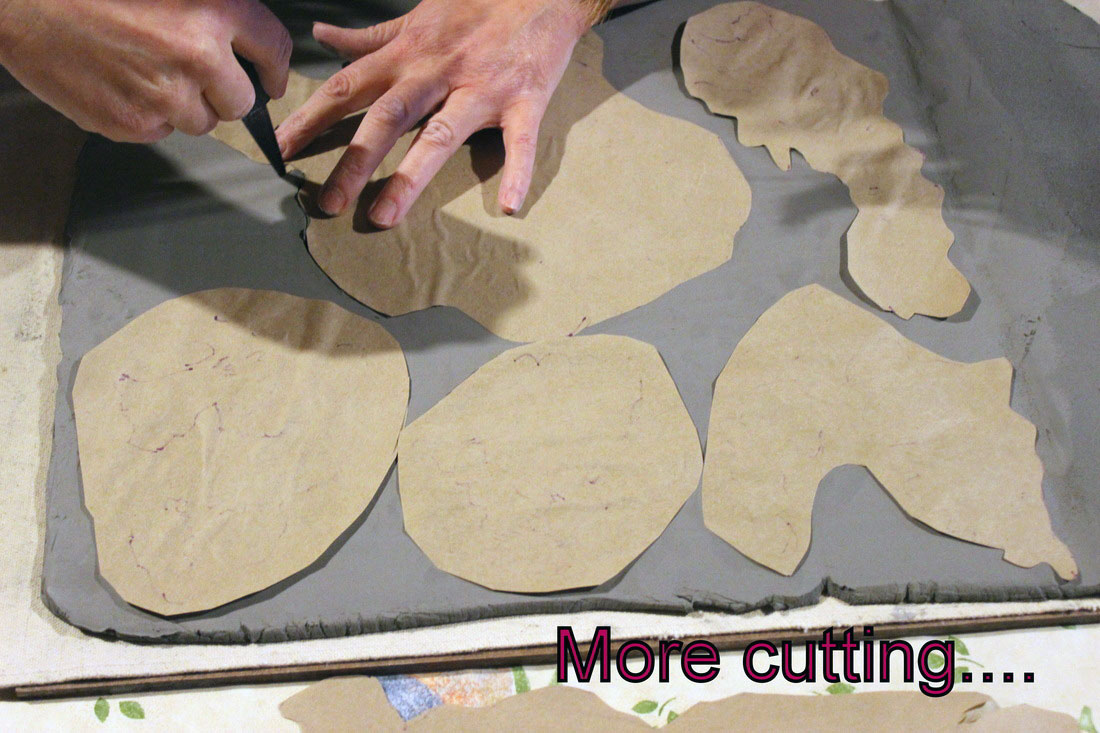
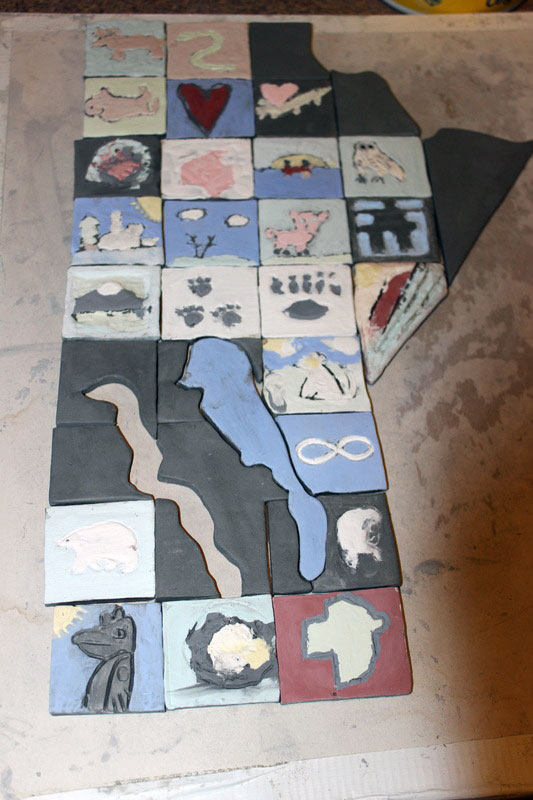
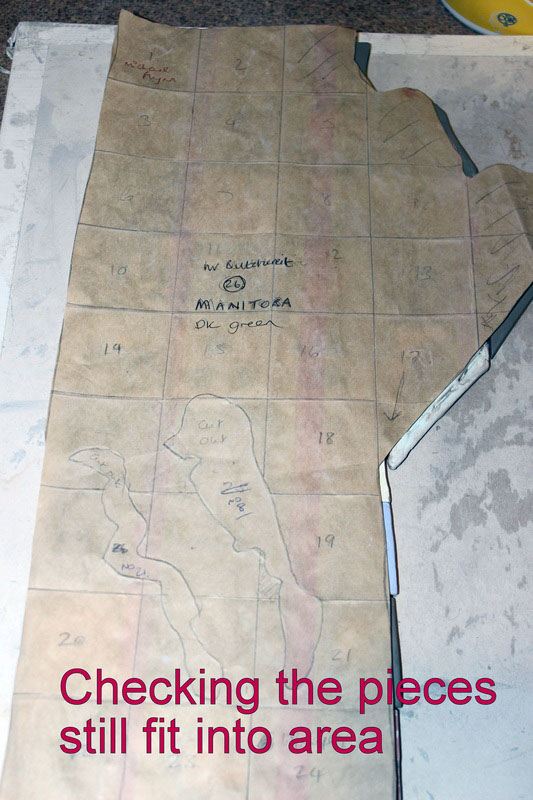
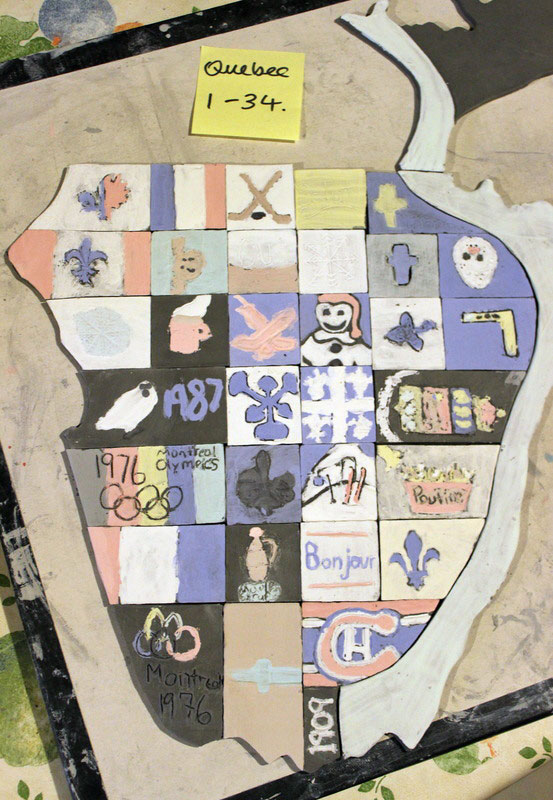
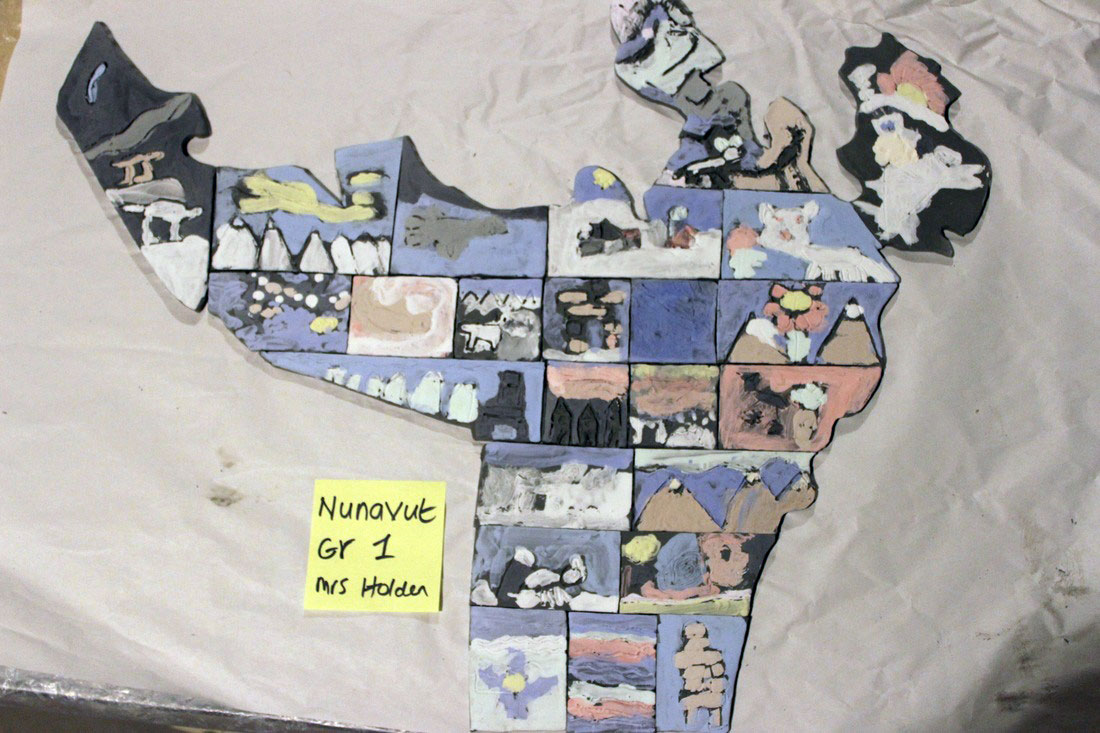
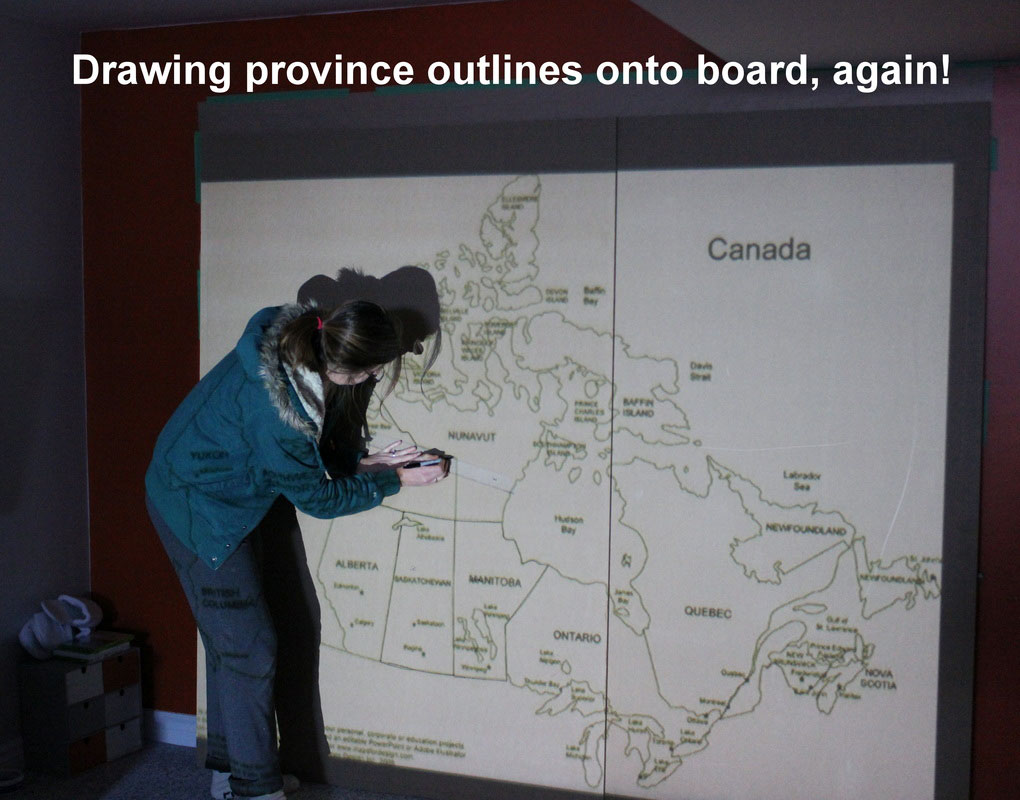
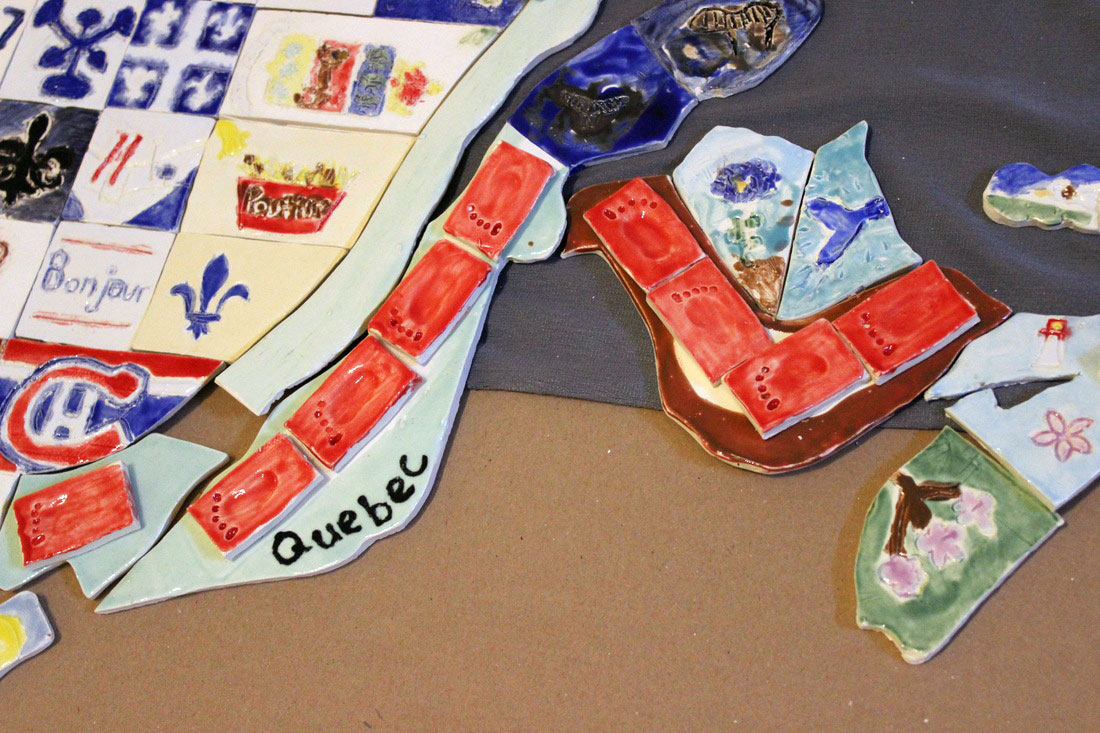
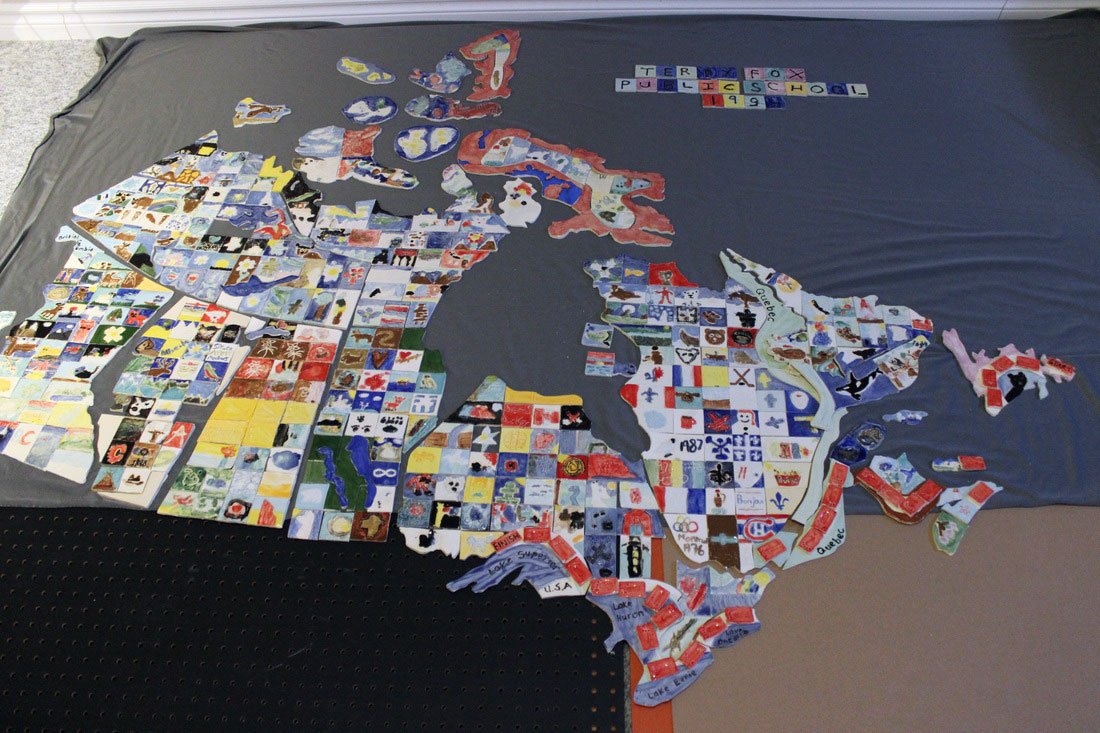
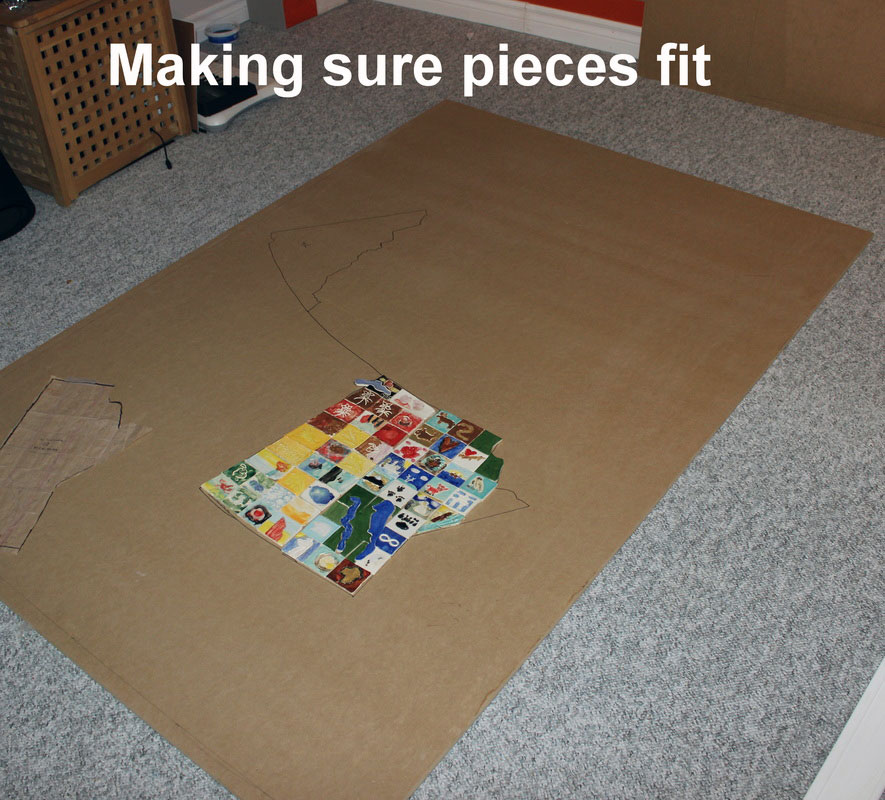
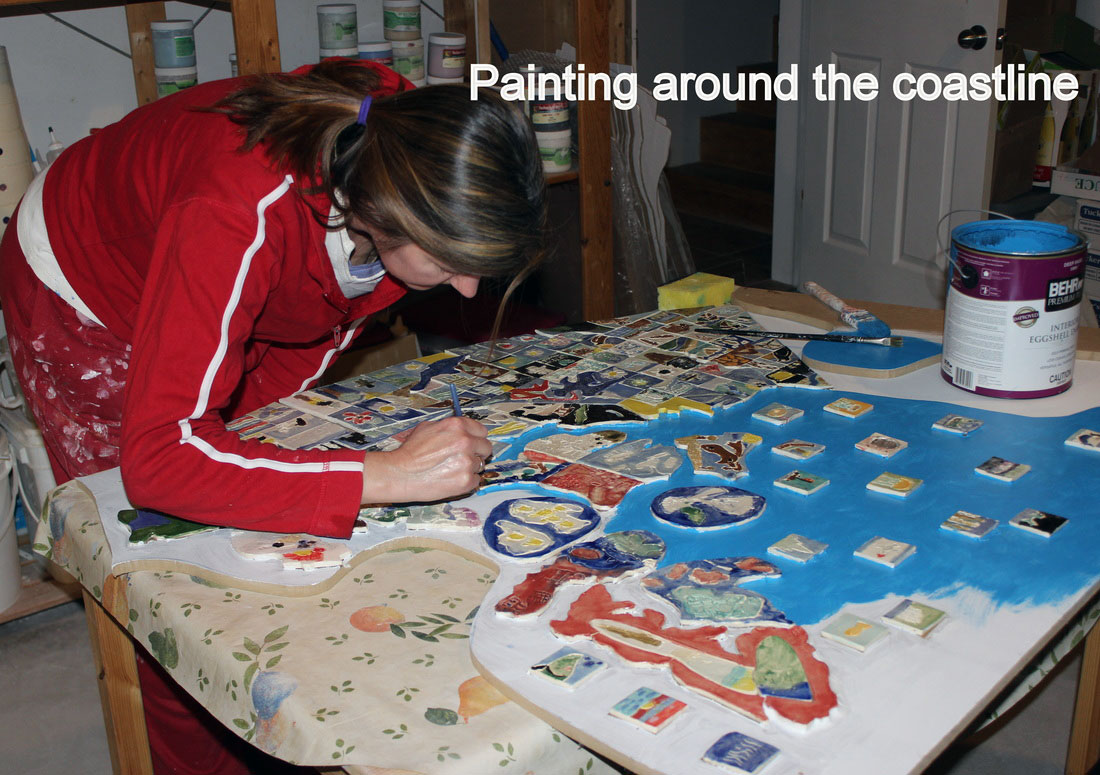
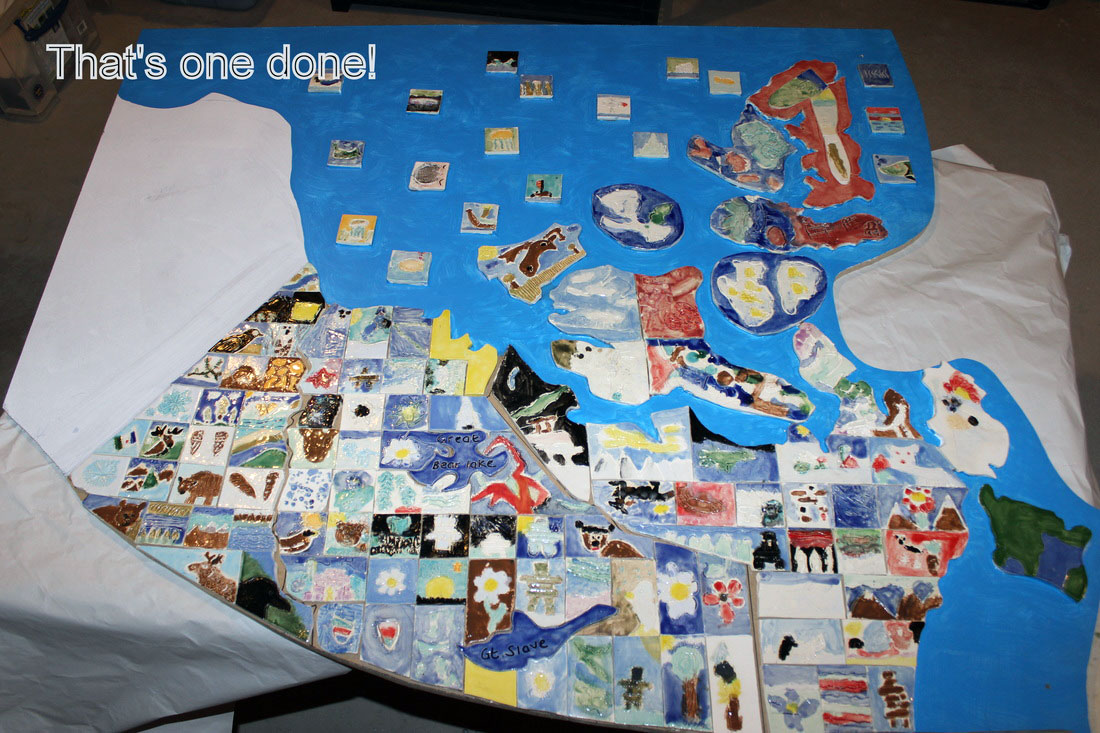
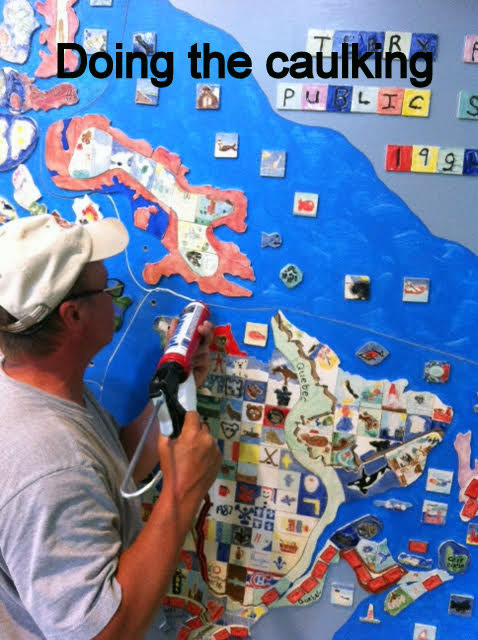
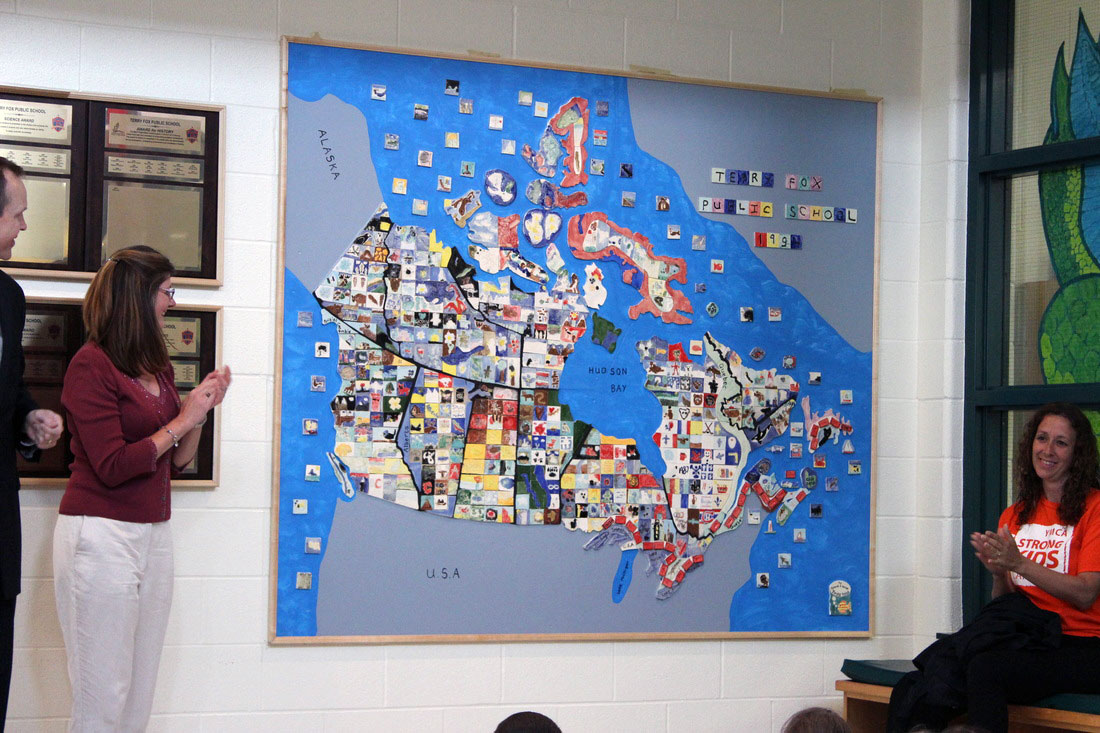
The slideshow above shows the different stages of making the display. It all started with a projected image onto a 8×7 foot piece of paper. From this, I made smaller templates for the individual provinces and territories so as I had an accurate area to work with. The hardest part was dividing up these areas so they were roughly the same size (I didn’t want them squabbling over who had the bigger piece!). I also had to blank out the areas where Terry’s footsteps were going to go so as not to cover up a child’s work.
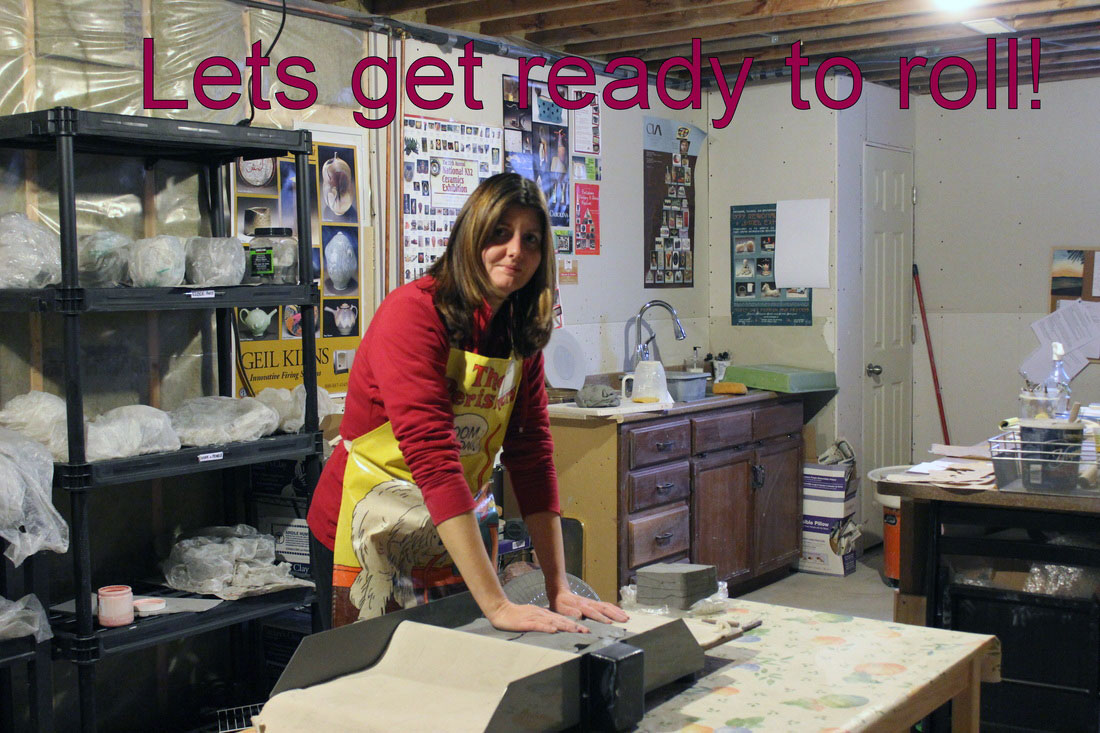
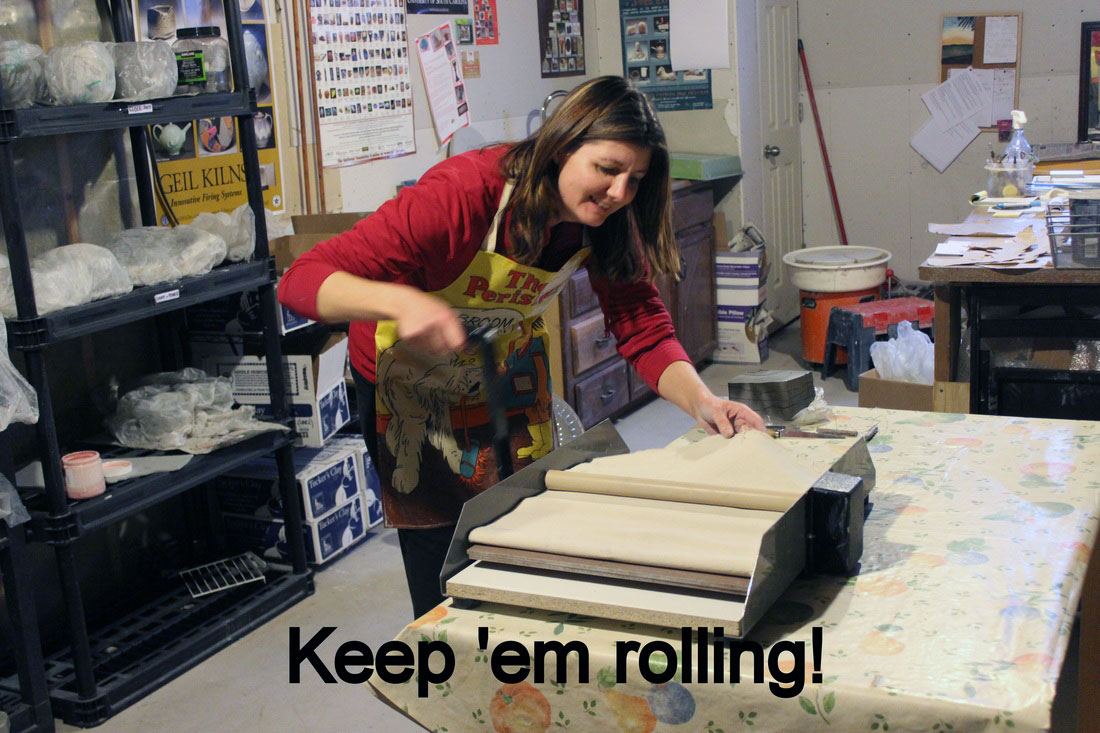
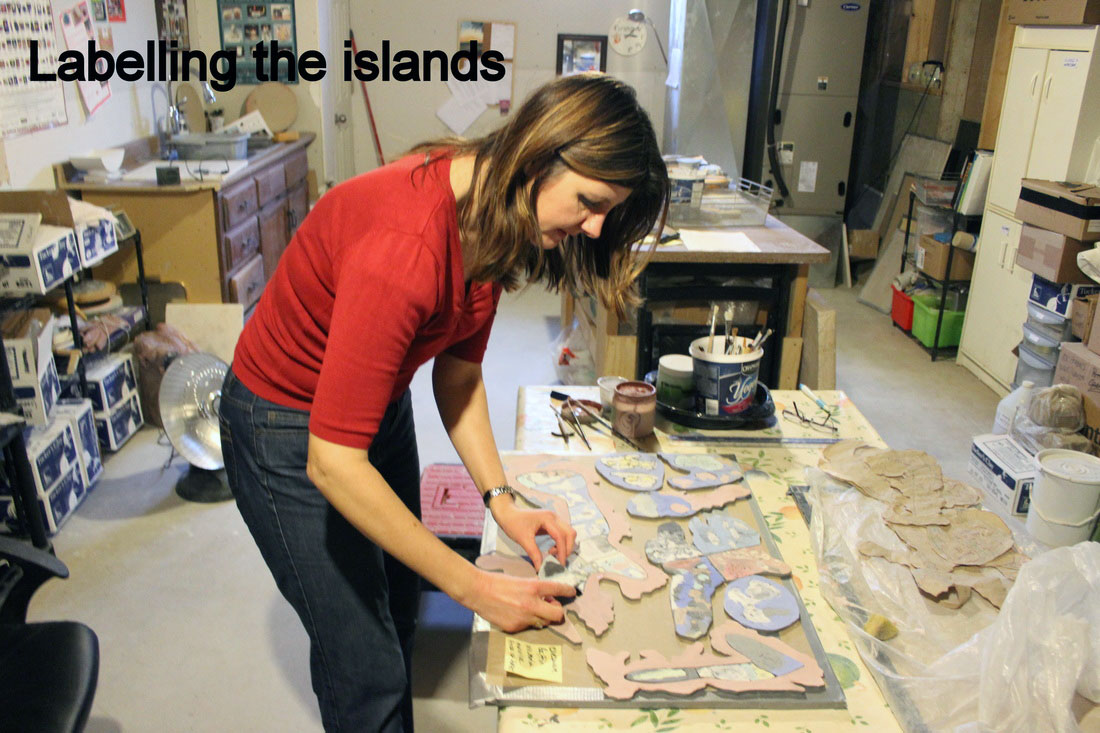
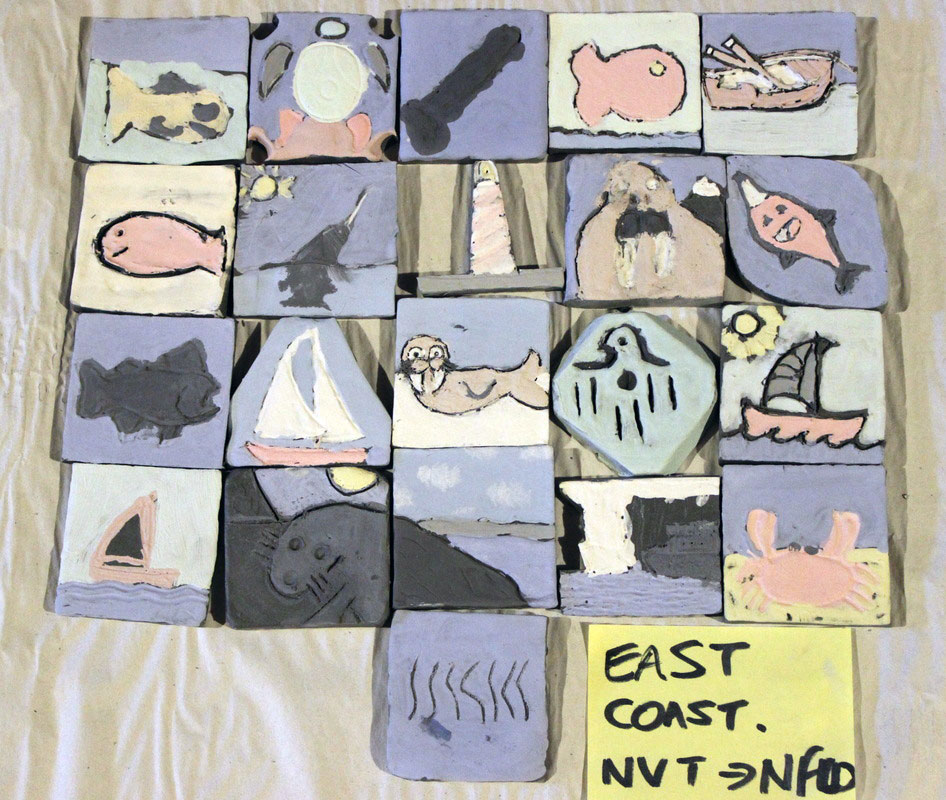
The clay had to be rolled out two days in advance so it was firm enough and easier for the kids to work with and then it was divided up based on the template. Each piece was numbered so that when they were handed out in class, we could mark down who had what number piece. This was all recorded in a key for all the areas made, there were 16 classes in total.
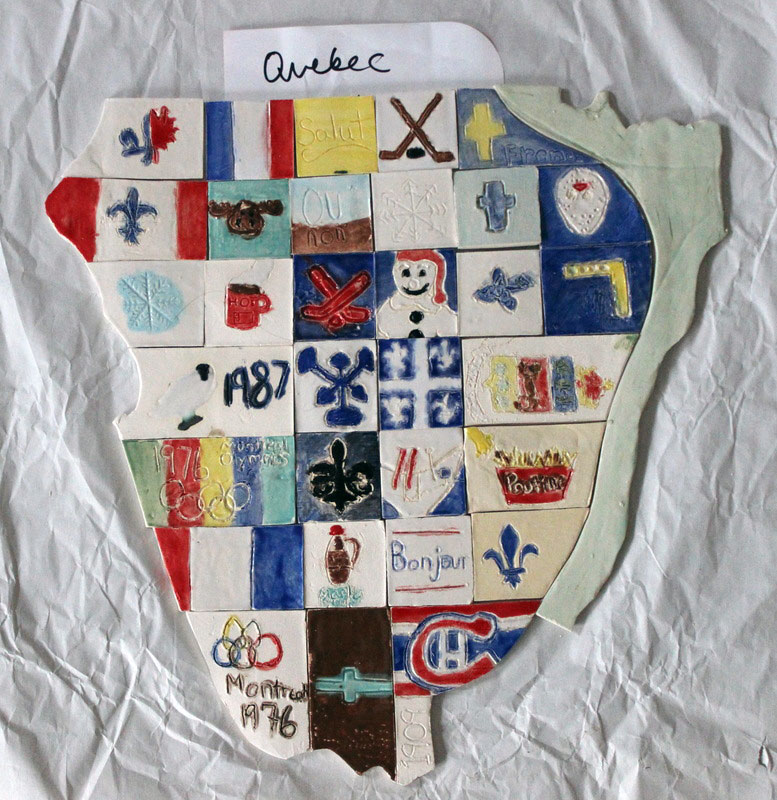
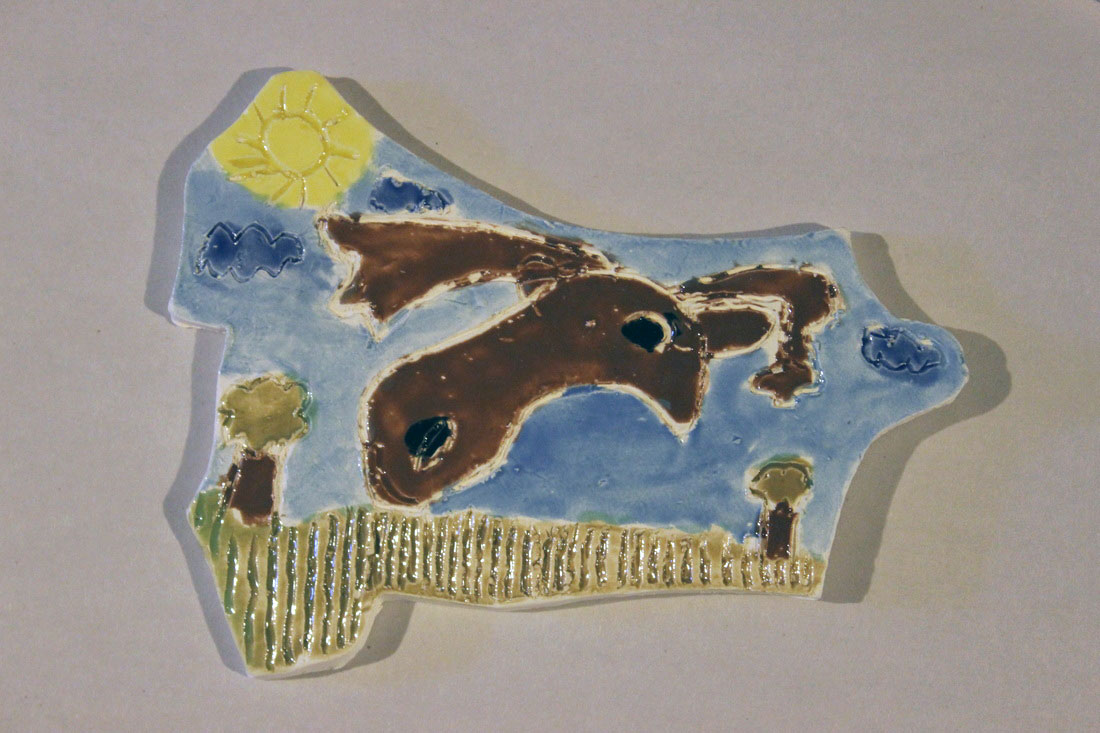
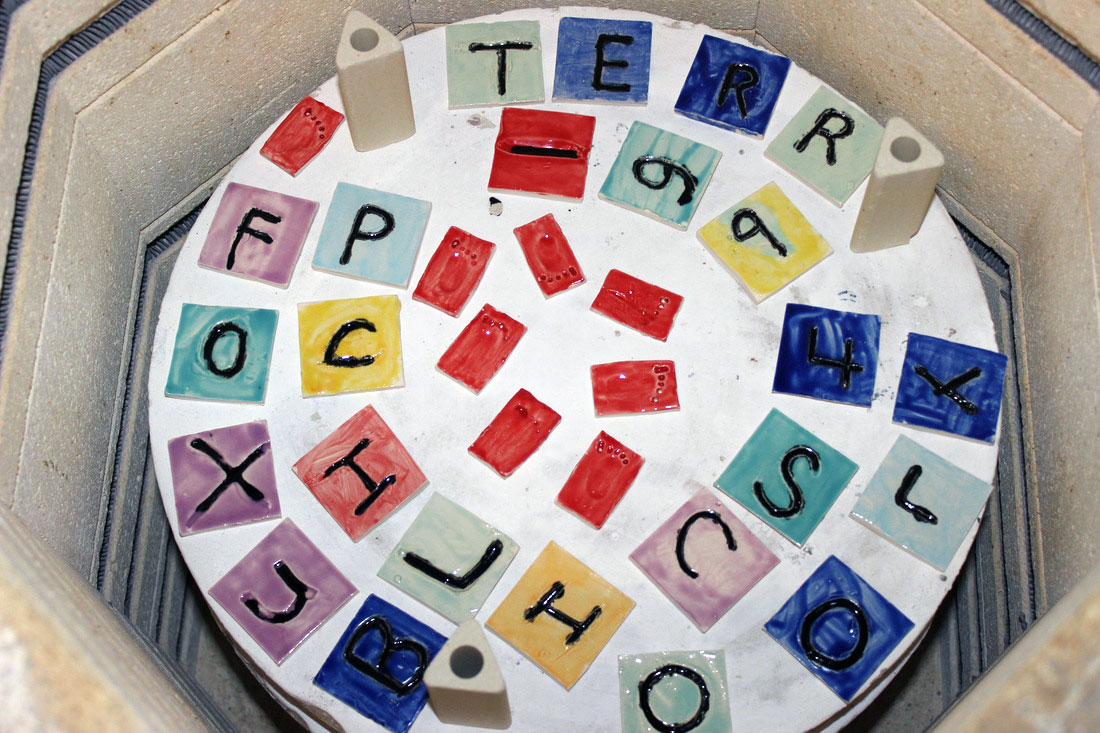
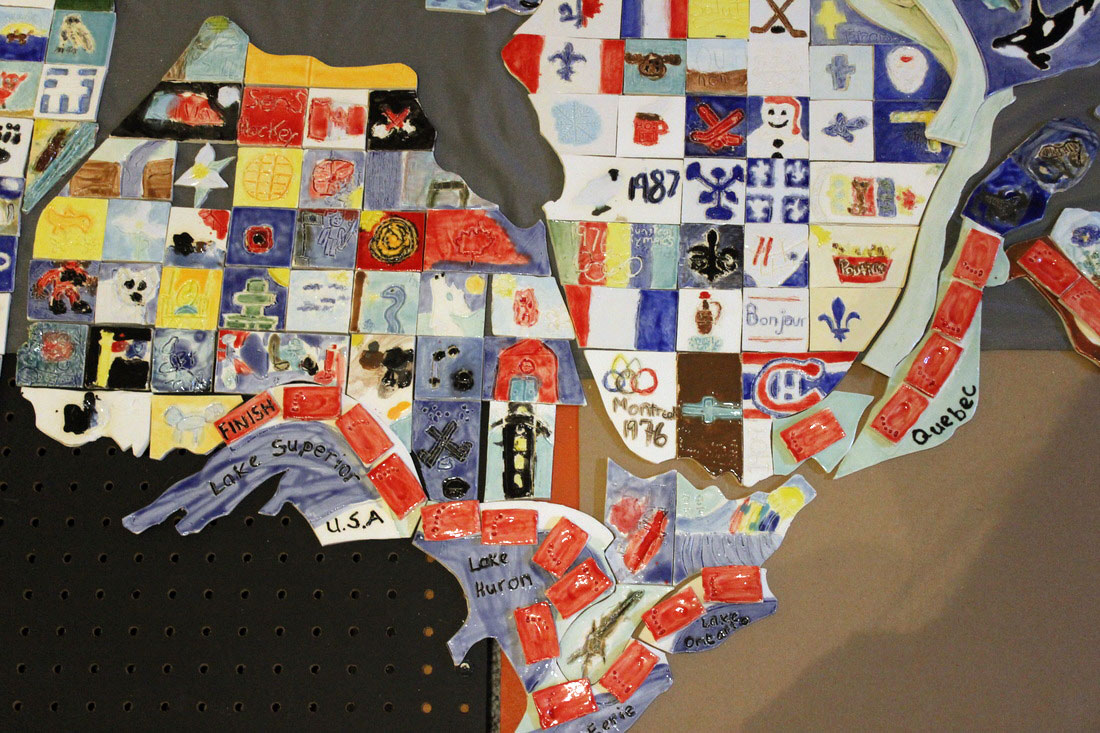
The project linked in with the curriculum so the kids researched the particular area their class was making and looked at provincial flags, flowers, landmarks, famous cuisine and of course hockey teams! When I went in to make the pieces they had had to be prepared. With the kindergarten class, I made the footprints making an impression with their pinkie finger and then they used the end of a skewer to make the toes. So cute! They then painted them with glaze.
Once the kids had made their little masterpieces, I had to make sure they fitted back into their allotted area. This was critical otherwise the display would not look like Canada as we know it! This took time to pare down some pieces to make them fit together again.
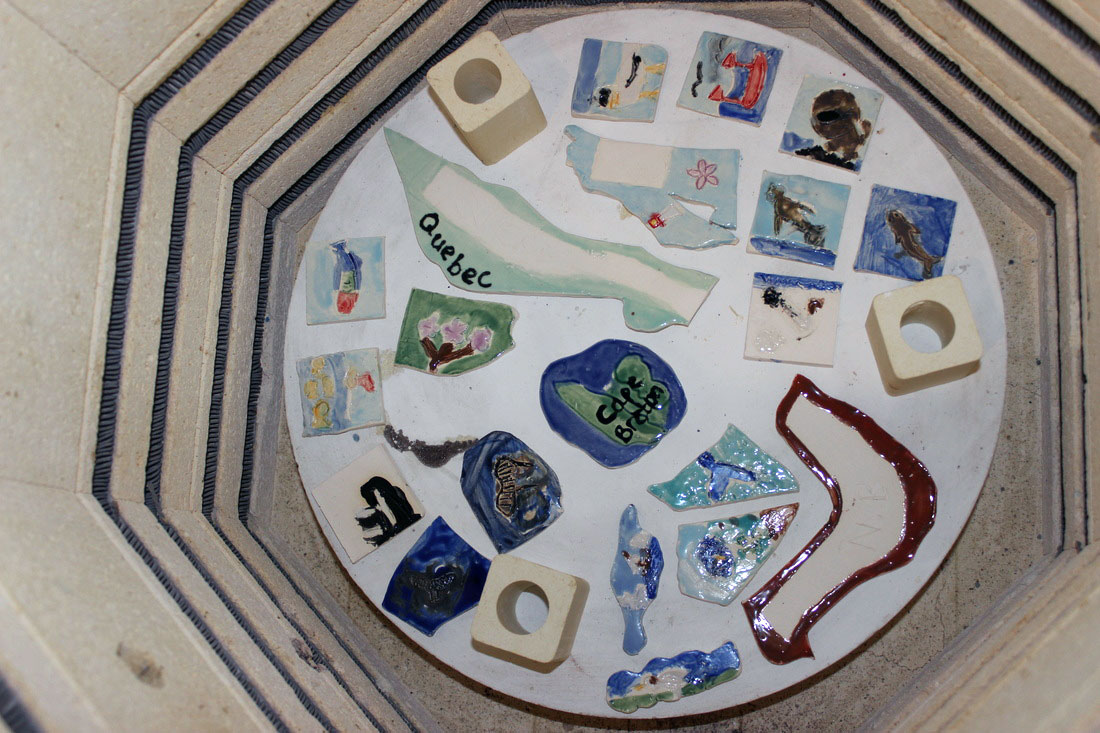
The really exciting part came when they were fired! It was like Christmas morning every time I opened up the kiln after a firing!
Once all they were all fired, I began to put the provinces together, firstly to check it was all going to come together and secondly, because I couldn’t wait to see it! On some pieces I had to use a Dremel tool to grind areas down so they fit. My hands froze outside as it was snowing when I did this!
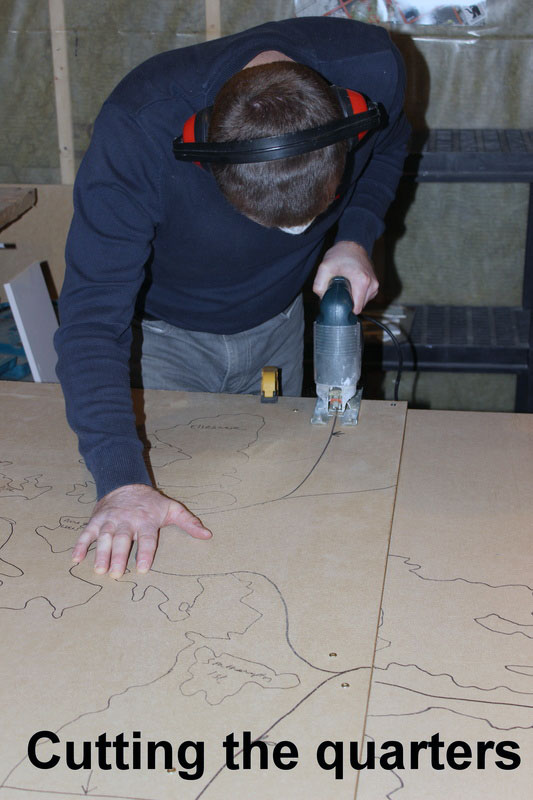
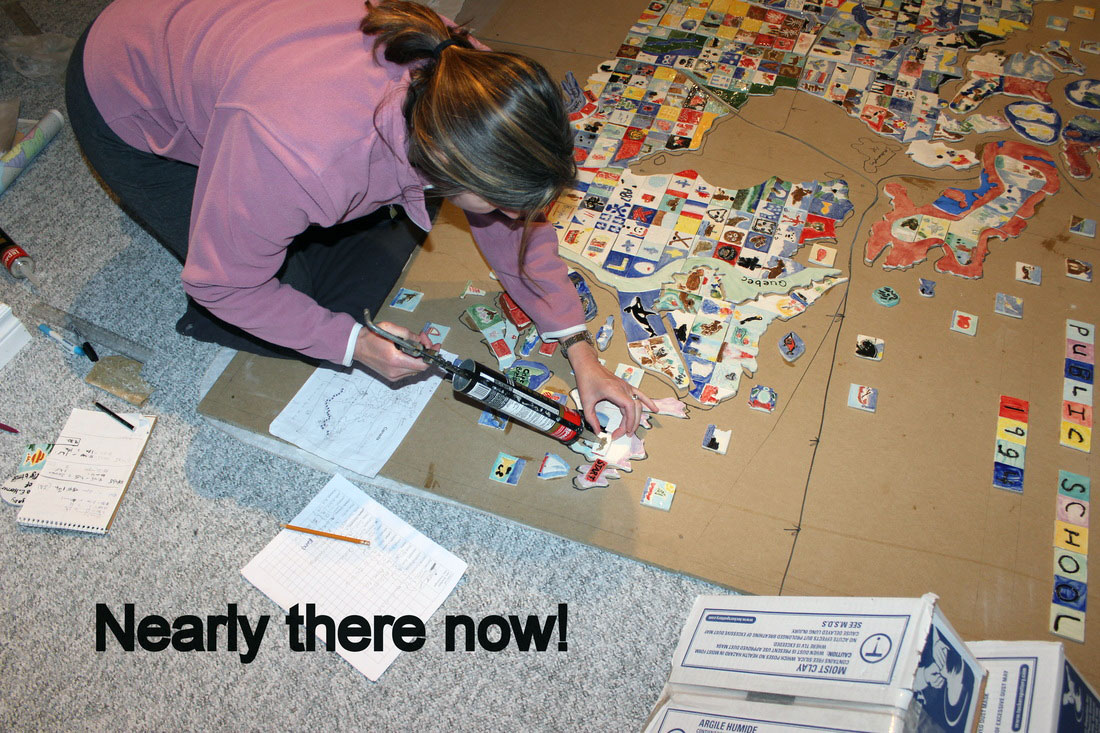
Next came the boards. We had to project the image again onto the boards and draw around the outlines so it was accurate. We then divided them into quadrants planning the joints so as to avoid the tiles above. This minimizes the risk of them popping off in years to come! The boards were cut and then I started sticking the pieces to them. This part was actually fairly quick as all the preparation had been done beforehand.
Once they were all stuck down, I primed the boards then painted in the sea, Hudson bay and the U.S.A. It was really starting to take shape at this point!
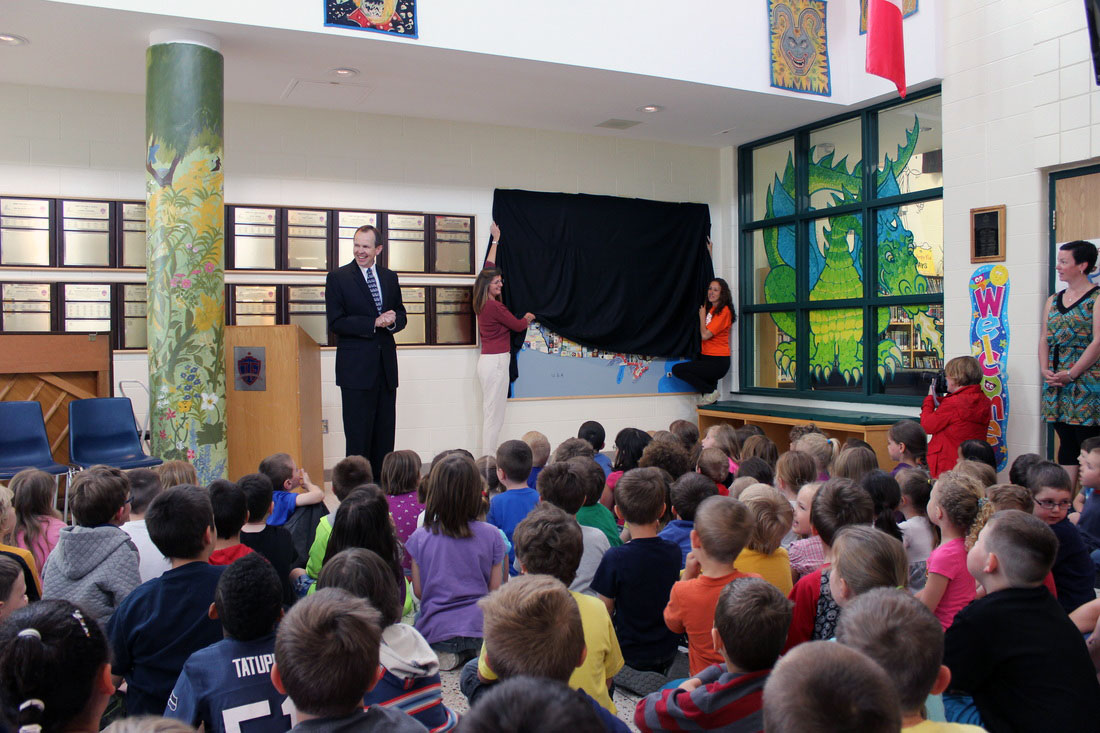
The finished boards were transported to school and the school carpenter carefully wall mounted them. He then filled in the joins and I painted over them. Next, a mosaic artist friend helped me grout the provincial lines with black grout. This was a scary process! The grout was such a strong pigment as was sticking to the texture in the tiles but we managed to get it out with some perseverance!
The final stage was getting the carpenter to add the trim.
On a personal note
I’ve learnt so much from undertaking this project, it’s been my own ‘marathon of hope’ at times! I sought good advice from knowledgeable friends in the beginning and that definitely paid off later. This is the largest project I’ve ever undertaken but with careful planning and being very methodical, it all came together in the end! I enjoyed working with the children immensely and found them inspirational. They had no preconceived ideas about how to use my glazes and blended them beautifully with some stunning effects. They’ve taught me not to be so cautious and just go with the flow! It has taken me on my own artist journey and I now want to try working with tiles and expanding my horizons.
I hope you like the display!
Media link to this story
Cobourg’s Terry Fox Public School students create mural
May 27, 2015 by Karen Longwell – Northumberland News

